
Mastering the Art of Scripting a Kid-Friendly Shop in Roblox Studio
- Primal Cam
- Aug 8, 2025
- 4 min read

Creating an immersive and engaging shop in Roblox Studio can be a fantastic way to unleash creativity and learn programming for kids. Not only does it enhance the gaming experience, but it also fosters problem-solving skills and encourages collaborative play. In this post, we’ll explore how to script a shop in Roblox Studio for kids, making it fun and easy to understand.
Understanding the Basics of Roblox Studio
Before diving into scripting, it's important to familiarize yourself with Roblox Studio. Roblox Studio is a powerful platform where you can create your own games and simulations. It allows users to design environments, script gameplay mechanics, and upload their creations for others to enjoy.
The interface consists of various tools, each designed for specific functions like building, scripting, and managing assets. Take some time to navigate around and find your way through the toolbox where you'll find models, scripts, and more.
Setting Up Your Shop Environment
Choosing a Suitable Location
The first step in scripting a shop is setting up the right location. A vibrant and interactive environment can make a significant difference in how players perceive your shop.
When selecting a location, consider various elements such as accessibility and aesthetic appeal. A busy area where players often gather is ideal. You could design a bustling marketplace or a quaint little shop tucked away in a corner of your game.

Designing Your Shop
Once you have your location, it's time to design your shop! Using the tools in Roblox Studio, you can customize your shop with walls, floors, and interactive selling points. Here are a few tips for designing your Roblox shop:
Use Bright Colors: Kids are naturally attracted to bright and cheerful colors. Use colors that complement each other while ensuring that the layout is inviting. Consider using decals or textures to create a more lively atmosphere.
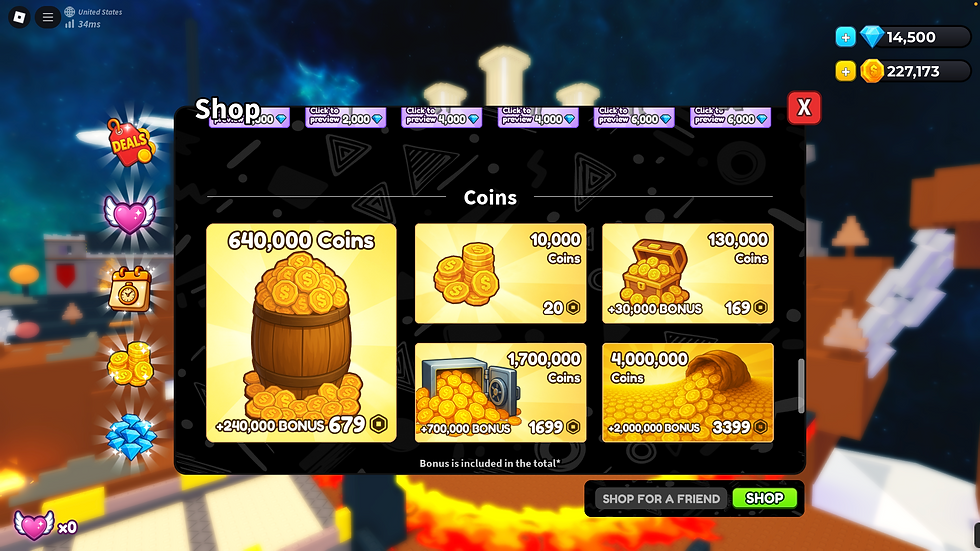
Add Items to Sell: Create display shelves or stands to showcase whatever items you plan to sell. This could be clothing, accessories, or game passes. The more visually appealing your shop is, the more likely players will want to visit!
Incorporate Unique Features: Add interactive elements like animation or sounds to grab players' attention. Perhaps you want a fun counter at the cash register or decorative banners showcasing special sales.
Scripting the Shop Functionality
Understanding Lua Scripting Language
Now that you have your shop designed, it’s time to add some functionality through scripting. Roblox uses a programming language called Lua, and it’s user-friendly for kids who are just starting.
Lua allows you to create scripts that control the behavior of objects in your game. This includes everything from item purchases to special interactions with players.
Creating a Basic Script for Item Purchases
To start scripting your shop, you will need to create a script for item purchases. This script will dictate how players can buy items and how these items will be delivered.
Insert a Script: Select the part of your shop where players will interact (like a counter or a display), right-click, and insert a new script.
Write the Script: Below is a simple example of what your script could look like:
```lua
local function onTouch(hit)
if hit and hit:IsA("Player") then
local player = game.Players:GetPlayerFromCharacter(hit)
local backpack = player:FindFirstChild("Backpack")
local newItem = Instance.new("Item") -- Replace "Item" with the actual object you want to create
newItem.Parent = backpack
newItem.Name = "Cool Item" -- Change to item name
end
end
script.Parent.Touched:Connect(onTouch)
```
In this script, when a player touches the shop display, a new item will be added to their inventory. Adjust the specifics to match your intended items.
Adding Interactive Elements
Creating Shopkeeper NPCs
To make your shop feel more alive, consider adding a shopkeeper NPC (Non-Playable Character) that interacts with players. This NPC can greet customers and facilitate the buying process.
Insert an NPC: Use the toolbox to find an NPC model. Place it in your shop area.
Script Interaction: Add a LocalScript to the NPC. Here’s a sample script:
```lua
local function onPlayerTouch(hit)
local player = game.Players:GetPlayerFromCharacter(hit)
if player then
-- Greet the player
player:Kick("Welcome to the Roblox Shop! Type 'buy' to purchase an item.")
end
end
script.Parent.Touched:Connect(onPlayerTouch)
```
This script will interact with players when they are near the NPC, enhancing the shop's interactive experience.
Incorporating Sound Effects
Kids love sound effects! Add some fun sounds to your shop to make it more engaging.
Find a Sound: In Roblox Studio, explore the "Sound" section in the toolbox to find suitable sounds.
Add to Scripting: You can integrate sounds into your purchase script:
```lua
local soundEffect = Instance.new("Sound", workspace) -- Adjust to your preference
soundEffect.SoundId = "rbxassetid://your_sound_id_here" -- Replace with actual sound ID
local function onPurchase()
soundEffect:Play()
-- existing purchase code...
end
```
Adding these details increases player engagement and enhances the overall experience of visiting your shop.
Testing Your Shop
Checking Functionality
After you’ve implemented all your design and scripts, it’s crucial to test your shop. Click the Play button in Roblox Studio to see how everything functions in real-time.
Ensure that purchasing items works as intended, NPC interactions occur smoothly, and sound effects function properly.
If anything seems off, use the output window to debug. It's a helpful tool that shows errors and messages that can guide you in troubleshooting.
Gathering Feedback
Since creating a kid-friendly shop is geared towards young gamers, why not gather feedback from your peers? Invite friends or family to test your shop and ask them about their experience.
This feedback can provide valuable insights into what works and what needs improvement. Focus on their takeaways, especially items they enjoyed interacting with or features they found exciting.
Conclusion
Scripting a kid-friendly shop in Roblox Studio offers an excellent opportunity for creativity and learning. By understanding the basics of the platform, setting up an appealing environment, and integrating engaging scripts, you can create an interactive experience that captivates your audience.
As you progress in your Roblox development journey, remember to keep refining your skills and experimenting with new features. With practice and creativity, your ability to create engaging gameplay will only improve. So dive in, get scripting, and bring your ideas to life!
Happy developing!

$50
Product Title
Product Details goes here with the simple product description and more information can be seen by clicking the see more button. Product Details goes here with the simple product description and more information can be seen by clicking the see more button

$50
Product Title
Product Details goes here with the simple product description and more information can be seen by clicking the see more button. Product Details goes here with the simple product description and more information can be seen by clicking the see more button.
$50
Product Title
Product Details goes here with the simple product description and more information can be seen by clicking the see more button. Product Details goes here with the simple product description and more information can be seen by clicking the see more button.

Comments